
How to Create an Email Auto Responder with cPanel Web Hosting
An email autoresponder is a very handy but basic tool available in cPanel – as long as you have a cPanel Web Hosting account. This tool enables you to automatically respond to emails received at your email address.
As an example, you can configure it to notify people that you have received their emails and that you will respond to them within a certain time frame when you get back from holiday.
To properly make use of this tool, you have to know how to create and configure it – and it’s dead easy.
Here is how to create an email auto-responder in cPanel.
1. Log into your cPanel at www.yourdomain.com.au/cpanel
2. Look for and icon labelled ‘Auto Responders, under the Mail section.
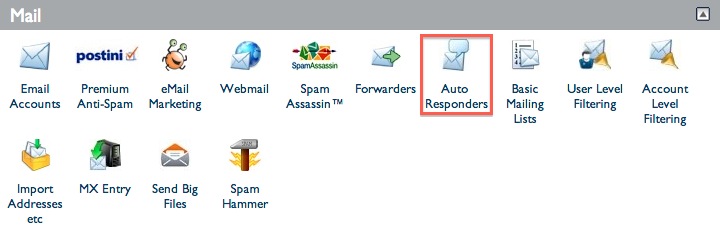
3. Click on the button ‘Add Auto Responder’
4. Configure the Auto Responder
a) Select the Character Set. Note ‘utf-8’ is the normal default to choose.
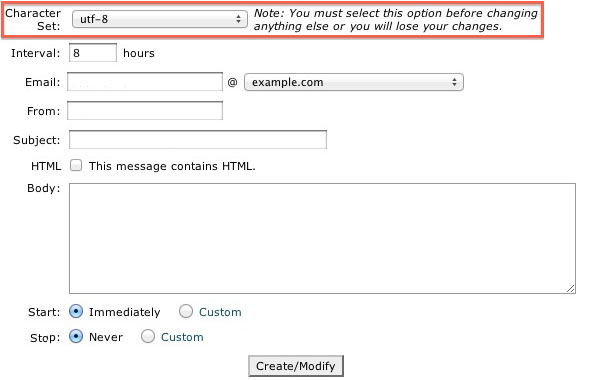
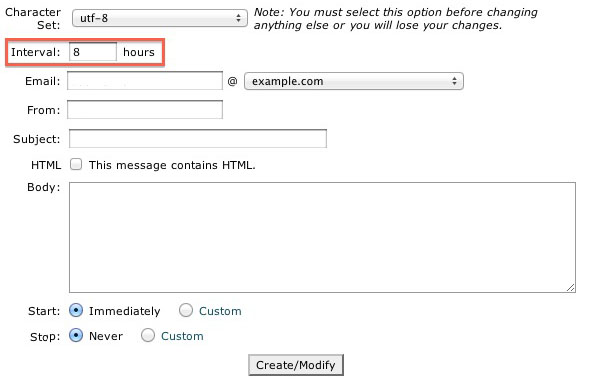
b) Define the time interval, in hours, when the auto responder will have to wait before sending another response to the same email address (this is for when you receive multiple emails from the same sender … do you really want to send them an auto-response every time?)
c) Enter the Email address. This is the email address auto-responders will be replied from.
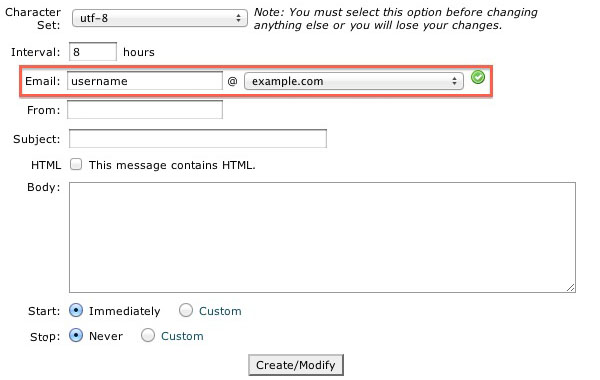
d) From – this would normally be your name or business. The FROM person the receiver will see.
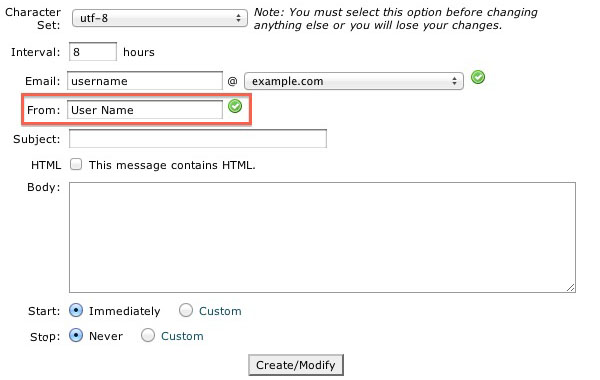
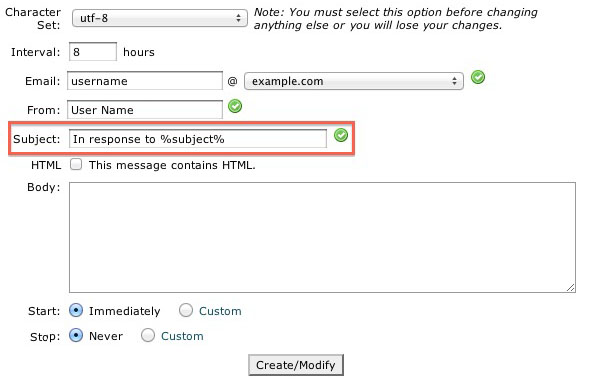
e) Subject – this is the subject of the email. Something like, I’m out of the Office for 3 days is a common example.
f) Body – what do you want the email to say. That you are on holidays, training for a mission to the moon and you’ll get back to them in 2 weeks when you return to Earth … you get the point.
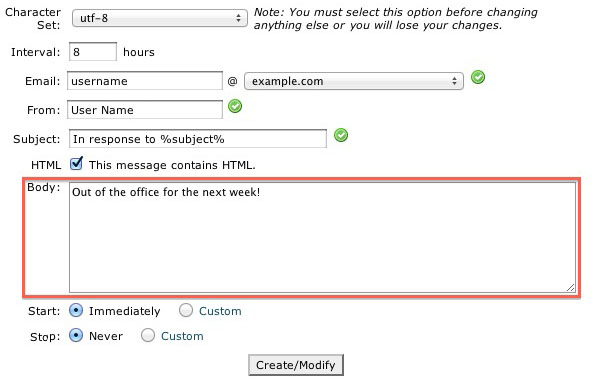
g) Start / Stop – simply select when you want this new auto responder to kick in and start replying to emails you receive, and when it should stop.
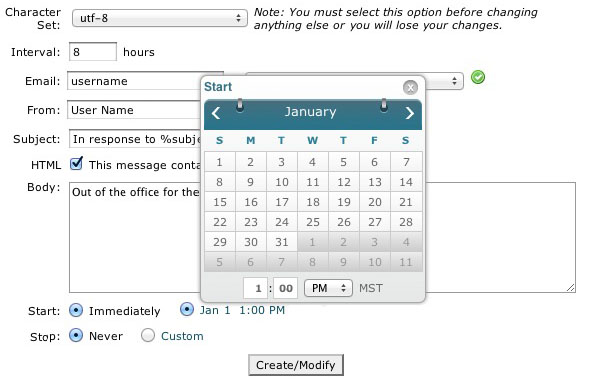
5. Don’t forget to click on the button ‘Create/Modify’ to save the auto responder.
And you’re done … easy!
Note: Using Tags
When configuring an auto responder, you can use the following tags, in the Subject or Body, to insert information into the response email:
%subject% – The subject of the message sent to the auto responder.
%from% – The name of the sender of the message received by the auto responder, if available.
%email% – The incoming email sender’s address.
Swish Connect is a leading provider of Web Hosting Australia plans with a range of services including Domain Names, Web Hosting plans, Business Web Hosting, Reseller Web Hosting, VPS Plans and Dedicated Servers.